|
USING SUBSURF
FOR HEAD MODELING
By Olivier Saraja |
|
S t
e p 1 3
Here we go for what
is, IMHO, the hardest part of face modeling, but also the most fun, thanks
to the SubSurf tools featured in Blender. It's just about your own modeling
talent, right now! Do multiple saves of your work, and don't forget that
you can undo all the changes you made to your model since the last time you
exited and then reentered the edit mode (TAB-TAB) with the U-KEY. Some tips:
- Consider the fact that you should
not be too symetrical in the way you move the vertice. This way, you will
get more "natural" shapes.
- Again, the magnet tool (O-KEY) could
prove useful, but I prefer rather NOT use it at this step.
- By pressing the SubSurf button while
working in edit mode, you will have a better glimpse of what you are doing!
- Don't bother getting right now a
perfect face shape, you can work on details later!
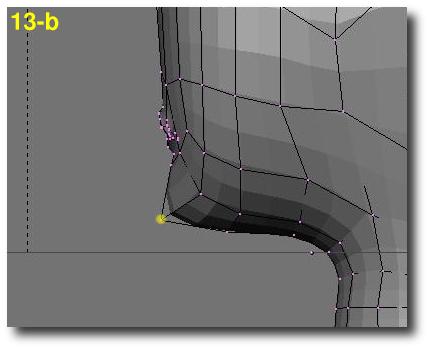
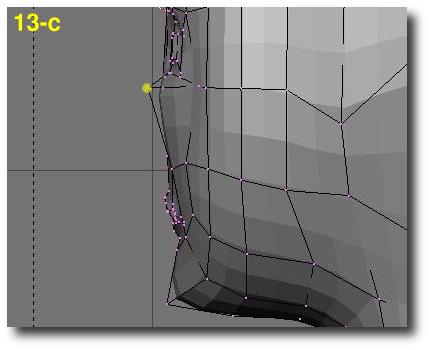
Here we go:
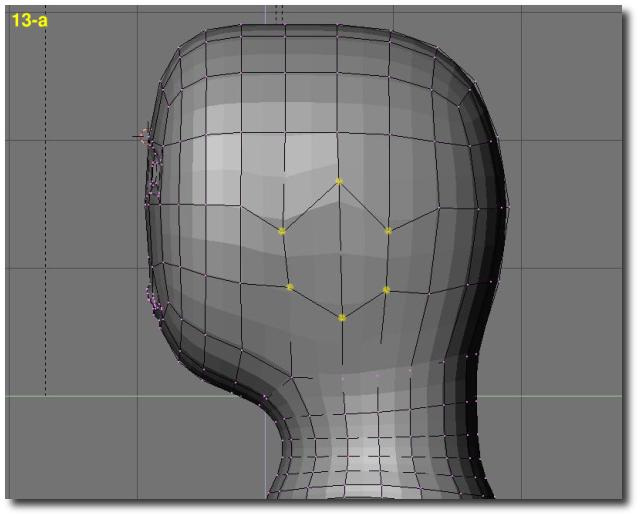
In side view, re-arrange vertices
in the area of the ears (a) and work on the chin (b). Rearange slightly the
cheecks (c). Rearrange vertice in order to shape the jaws (d).
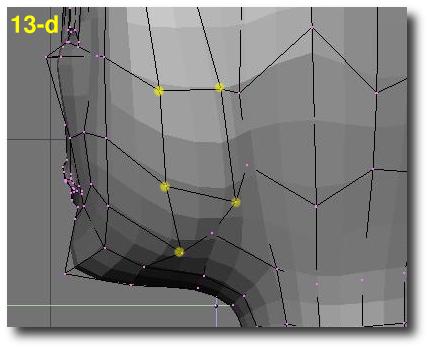
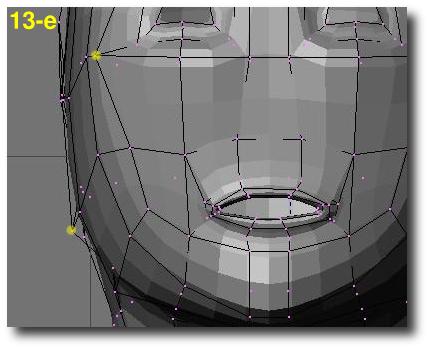
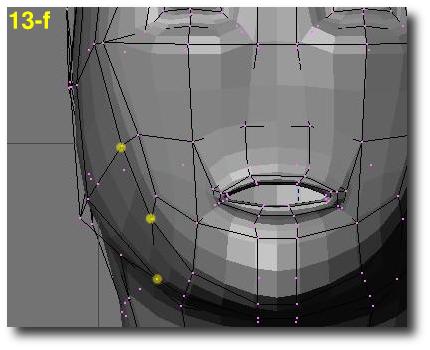
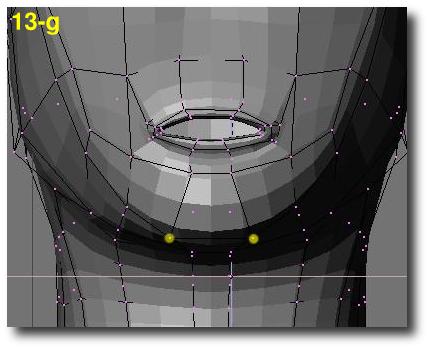
In face view, work a little more on
the cheecks (e), the jaws (f) and the chin (g).